
March 2004
New Clutch
Well it had to happen after three and a half years of mild(?) abuse the clutch on the Tiger finally gave out. Well it didn't really fail it was just the release bearing made so much noise I could hear it at 70mph!
Unfortunately replacing a clutch on a MK1 chassis is not easy, as I found out when I asked Paul Dudley. He quoted me 8 hours to do the job, this is because the front suspension has to come out followed by the engine etc....
With this in mind and due to the fact I was discussing this in Febraury I decided to get it booked it and let someone else repair the car for a change. I did decide to have a lightened flywheel fitted along with a complete new clutch assembly at the same time. So it was booked in and I got my spare flywheel machined down for a very reasonable price.
All should have been simple from now on and it was fairly, the car went in and had the new clutch fitted (the release bearing was completely shot) along with the new flywheel, however it turned out one of the front Spax units had suffered a seal failure and this resulted in the shock wrecking itself and that had to be replaced. It then transpired when testing the car that the thermo switch for the rad fan had also given up as I had been driving it through snowstorms it hadn't really got that hot recently. Finally it was back on the road running better and with my wallet lighter to the tune of £420.
Replacing the front cycle wings
I bought the front wings with the rear bodywork back in January but hadn't yet got anywhere with fitting them (bad weather, no time etc) but looking at them recently and with a track day coming up I decided I'd better get the job done.
The main reason for replacement is due to a bodged fitting by myself, this resulted in there begin too much strain on the fibreglass and star cracks forming as in the picture below.
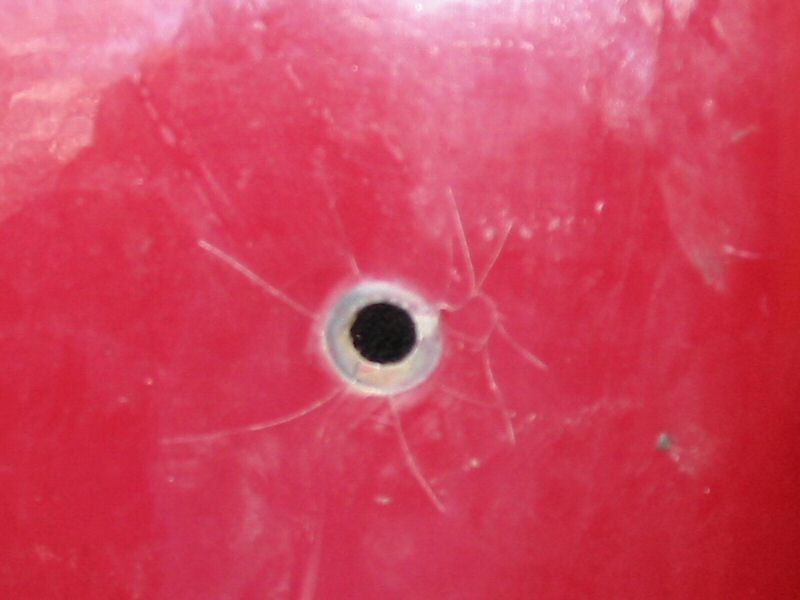
|
The wings are actually very easy to fit once you get started and figure out what you are doing, the first problem I found was that on the drivers side the stays were not very straight and needed careful application with Tiger Tool No.1 (extra large). Once this had been done there was the small matter that the top stay sat 40mm above the tyre and the rear one was 30mm above, this resulted in the wing looking very odd when it was mounted.This I solved with a couple of 10mm spacers to lift the wing parallel to the tyre.
The same thing occured to a lesser extend with the passenger side stay and I used some of the same spacers (cut down rubber door stops) to make the wing on that side line up.
Once both wings had been secured I then refitted the original edging strip back to the wings and cleaned it up.
The pictures below show the completed wings.
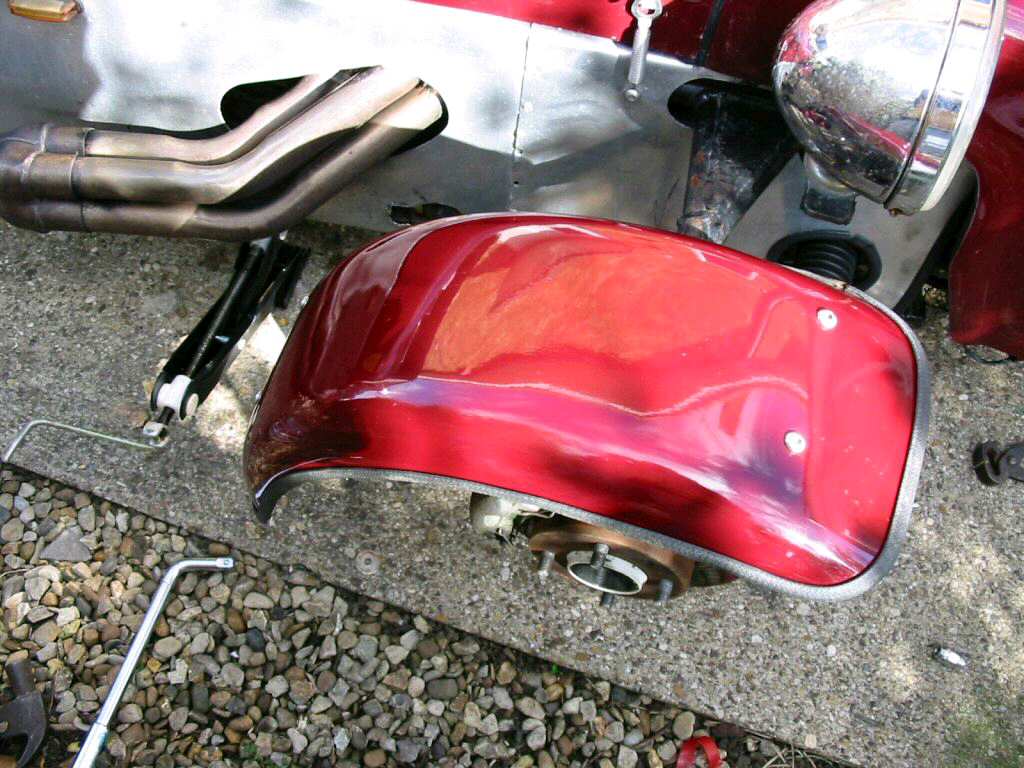
|

|
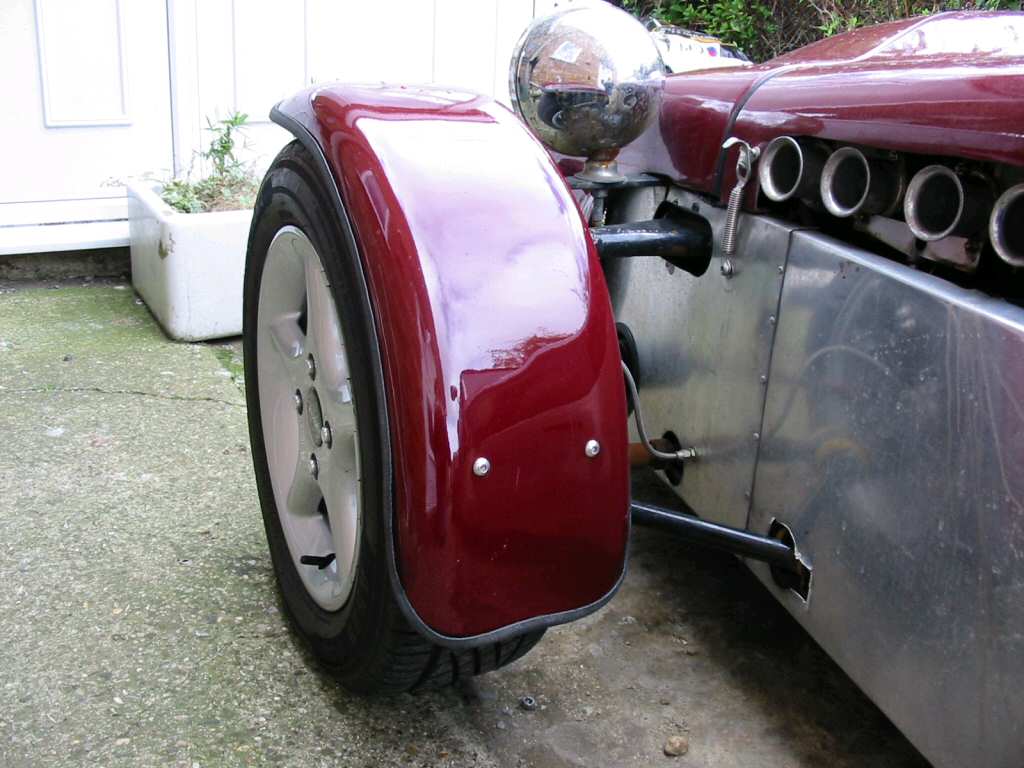
|