
May 2002:New Seats
Seats Part 1
Ah the new seats, a source of all sorts of problems. They have been sorted out now but it did take a long time to get something usable.
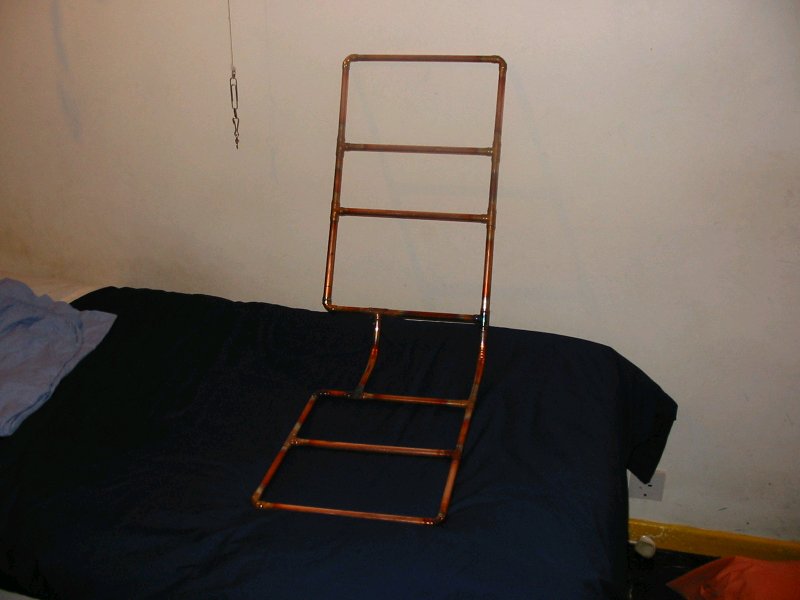
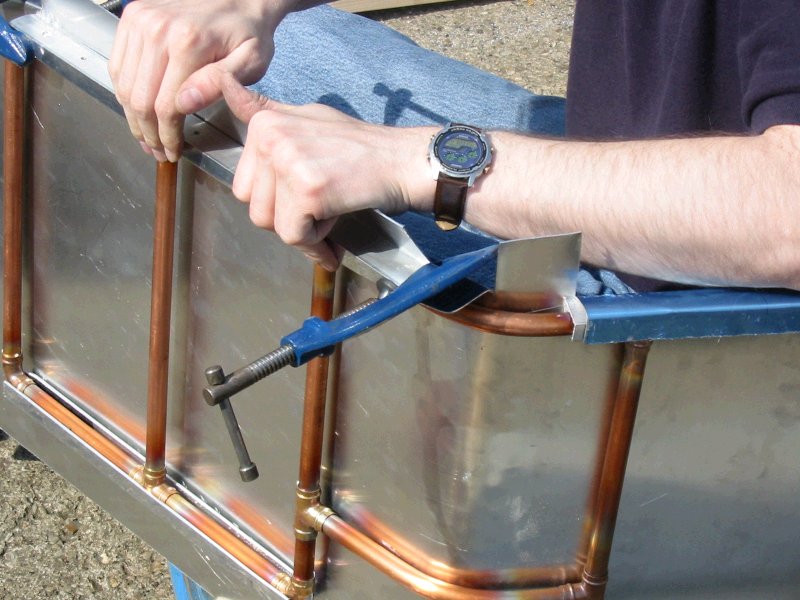
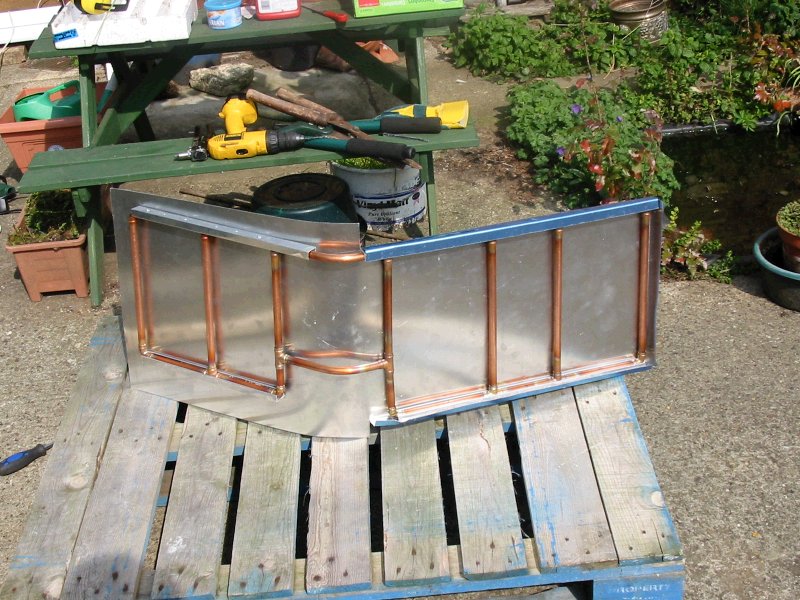
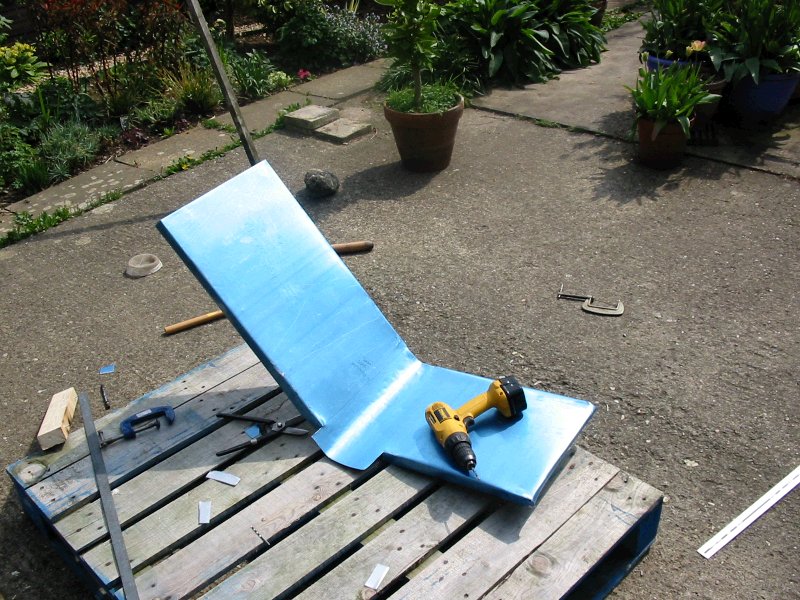
I decided I needed to improve on the original seats as supplied with the kit, there was nothing in particular wrong with them only that I wanted something with a longer backrest and possibly a headrest. After having a few thoughts I decided to make a seat frame out of copper water pipe, and then cover it will aluminiumum sheet and then have it trimmed. Easy - well or so I assumed.
The existing seat was removed from the car and used to template the dimensions up for the base which was then soldered together. I then built up a tall backrest and soldered that. It took another hour to solder the two sections together and I had a complete frame, which could sit in the car and was the right size. After that it was a case of bending a piece of ali sheet over the frame to give it some rigidity and also stop the occupent from sliding through the holes.
The pictures below give you an idea of what I ended up with and at this point all appeared to be going fine.
|
|
|
|
Now came the tricky bit - I had to fit the seat into the car and mark out where the mounting clips should be positioned. I put the seat in and whilst getting myself comfortable heard this cracking noise. When I removed the seat I found out what had caused the noise. The seat frame had separated where on the joints between the backrest and base.
It was scrap.
Because of where the frame had cracked was right in the middle, it became obvious that the copper tubing wasn't capable of withstandanding the loads that a seat is subjected to. I therefore decided to scrap the idea before it cost me a lot more.
Seats Part 2
Well after spending a week or so trying to make the seat frame and failing miserably I took a new look at the project and went for plan B (it was probably about plan Z but this is the second one that got beyond the idea stage).
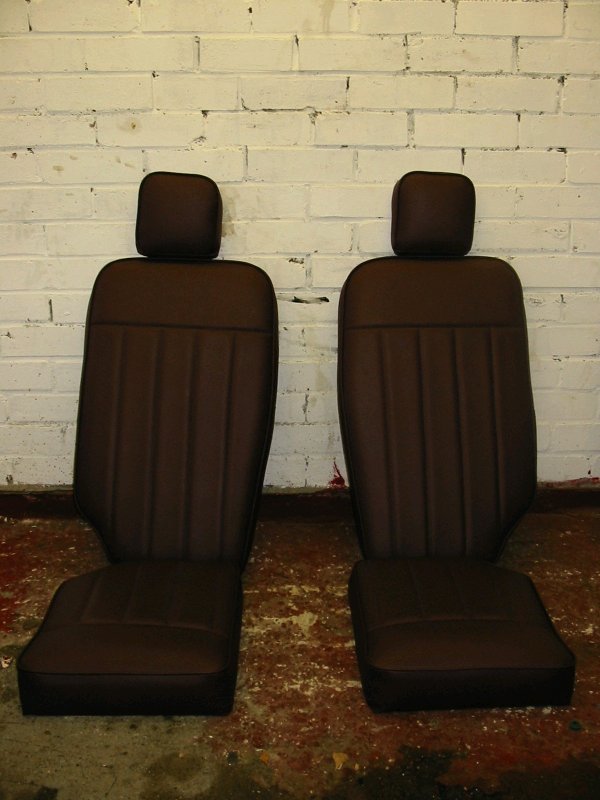
The standard Tiger pad seats consist of two sections the base and the backrest. The seats are made using a piece of heavy duty ply with foam padding and a vinyl cover. Now all I really needed was to make some bigger bits of plywood and have somebody trim them for me. I rang a few local trimmers and got a nasty shock. Quotes of 」200+Vat per SEAT were fairly common. I decided to try my luck with Tiger's own trimmer (Laura Dudley), Laura quoted me around 4 hours labour at their standard rate plus materials for the pair. This worked out less than the cost of one seat from some of the other trimmers. Now I knew the seats could get trimmed I started to work out the frame design.
The design was very simple and cut out of 18mm marine plywood, I kept the base the same as the standard Tiger one as basically nothing else will fit in the car. But the backrest was raised about 8 inches and squared off to provide some needed shoulder and upper back support. Originally the backs had built in headrests, but in the interest of making the trimming easier, these were split off and made as separate components. I had the seats trimmed in the same vinyl used for the dashboard.
The pictures below show the seats as delivered.

|
|
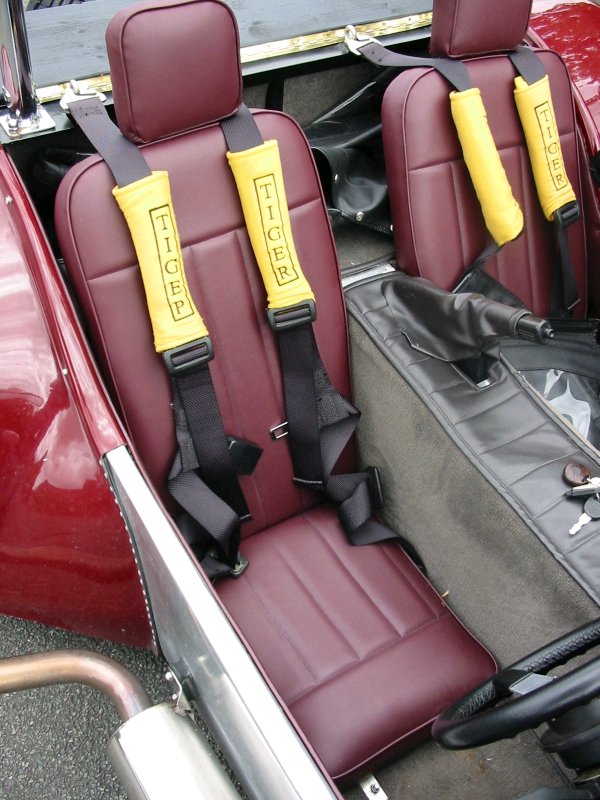
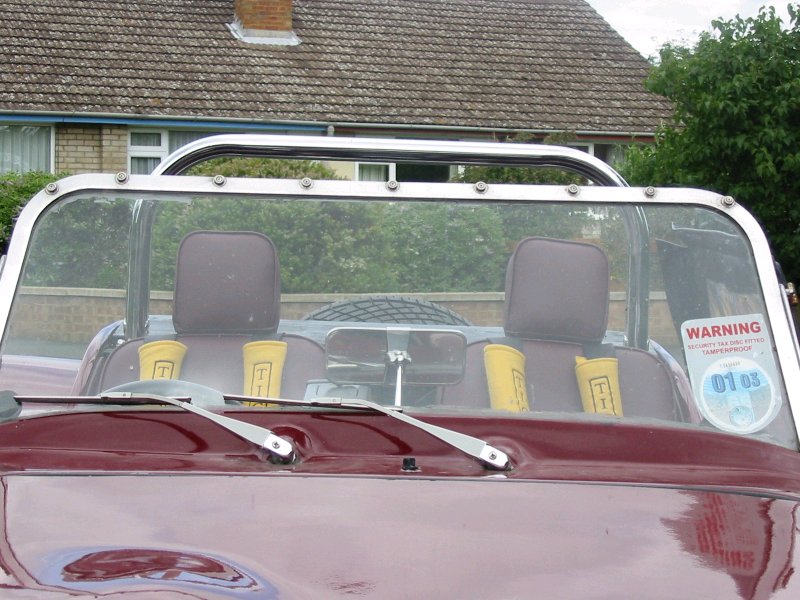
The next job to do was to fit the seats to the car, for the bases this was easy as I simply made some new support bars that matched the existing ones. For the backrests it was more complicated, I needed a bracket which could hold the backrest and headrest to the seat and be on full view without looking a mess.
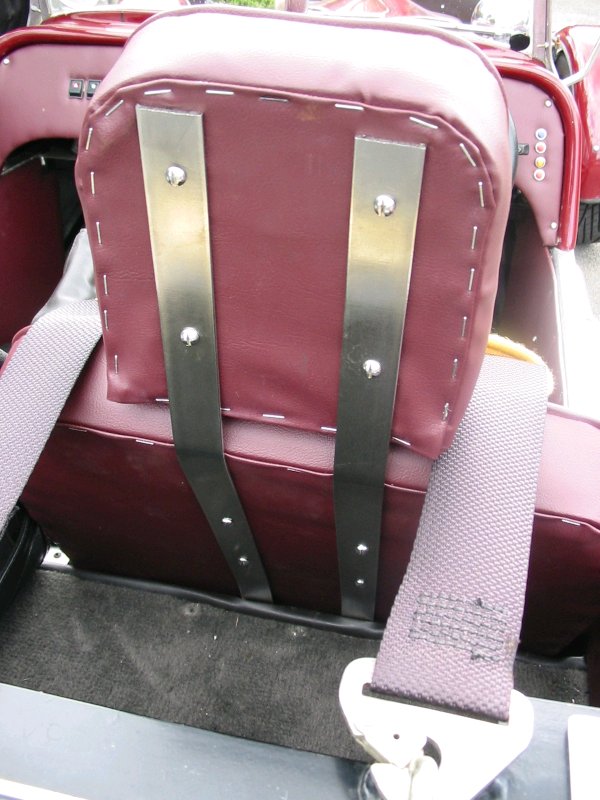
After a lot of thought I came up with the idea of using stainless steel flat bar bent to a shape which started on the headrest, followed the backrest and was bolted on to the rear parcel shelf under the existing carpet. The only fly in the ointment was the stainless bar. Although this was easy to get hold of thanks to a friendly local supplier bending it is best described as "interesting". To overcome this I made a prototype out of mild steel bar and then bent the stainless to match the design. Once that was complete it was a simple job to fit the new seats to the bar using stainless wood screws and then bolt the assembly to the car.
|
|

|
|